
Caulking, Weatherstripping, and Insulating: Sealing a Drafty Home Room by Room
In this article
A practical walkthrough for locating and sealing air leaks throughout your home using affordable materials and basic tools.
Key Takeaways
- Air sealing with caulk and weatherstripping typically costs under $50 in materials for most homes.
- Windows, exterior doors, and attic hatches are the most common sources of significant air leaks.
- A lit incense stick or damp hand can locate drafts without any specialized equipment.
- Silicone caulk works best for exterior gaps; foam weatherstripping suits movable door and window contacts.
- Sealing attic bypasses and penetrations can reduce heating and cooling costs more than window work alone.
- Most sealing tasks require no permits, but insulation work in some areas may have local code requirements.
Why air leaks cost more than most families realize
The U.S. Department of Energy estimates that air leaks account for 25 to 40 percent of heating and cooling energy use in a typical home. That is not a small rounding error. For a family spending $1,800 a year on energy, a conservative 25 percent share works out to $450 leaving through gaps that caulk or weatherstripping could close for a fraction of that cost.
Air sealing is distinct from insulation. Insulation slows heat transfer through solid surfaces. Air sealing stops conditioned air from escaping through cracks, gaps around pipes, and poorly fitted doors. The two work together, but sealing gaps first makes insulation more effective.
Before picking up a caulk gun, take a few minutes to walk through the pre-work checklist that covers material estimates and safety considerations. For most sealing tasks no permit is needed, but verify local codes if you plan to add batt or blown insulation in an attic or crawlspace.
Test before you buy materials
Walk the perimeter of the house on a cold, windy day and mark leaky spots with painter's tape before buying anything. A targeted list of locations tells you exactly how much caulk, foam, and weatherstripping you need, which avoids overbuying and return trips to the hardware store.
Finding the leaks: a room-by-room approach
Start from the outside in. On a cold or windy day, hold a lit incense stick or a dampened hand near suspect locations. Moving smoke or a cold sensation indicates airflow. Work through each area systematically.
Windows and exterior walls
Check the perimeter of every window frame where it meets the wall, the gap between the sill and the rough framing below, and the point where any electrical outlet sits on an exterior wall. Outlet gaskets (thin foam pads installed behind faceplates) are a quick fix for wall penetrations.
Doors
Close each exterior door and look for daylight around the edges. Slide a piece of paper under the door: if it pulls out without resistance, the door sweep or threshold seal needs attention. Check the gap between the door frame and the surrounding wall framing as well.
Attic and basement transitions
Attic hatches are often uninsulated and unsealed. Recessed light fixtures that penetrate the ceiling into an unconditioned attic are significant leaks. In basements or crawlspaces, look for gaps where pipes and wires enter from outside and where the sill plate sits on top of the foundation wall.
The common myths article addresses the widely held belief that plastic film on windows is the most effective draft fix; the evidence points to sealing the frame perimeter and adding weatherstripping first.
Choosing the right materials
Not every gap calls for the same product. Using the wrong material wastes money and can fail within a season.
- Paintable latex caulk works for interior gaps between trim and walls where movement is minimal and a painted finish is needed.
- Silicone caulk is for exterior gaps and areas exposed to moisture. It does not accept paint but bonds to most surfaces and does not shrink over time.
- Foam weatherstripping (adhesive-backed) suits window sashes and door stops where two surfaces compress against each other when closed.
- Door sweeps and automatic door bottoms close the gap between the door bottom and the threshold.
- Expanding spray foam fills irregular gaps larger than about a quarter inch, such as around pipe penetrations. Use minimal-expanding foam near windows and doors so it does not bow the frame.
- Rigid foam board or batt insulation is appropriate for attic hatch covers and basement rim joists.
Caulk gun
Dispenses caulk in a controlled bead along gaps and joints.
Utility knife
Removes old caulk and trims foam board to size.
Silicone or latex caulk
Seals stationary gaps around window and door frames.
Foam weatherstripping tape
Creates a compressible seal on door and window contact surfaces.
Minimal-expanding spray foam
Fills irregular or oversized gaps around pipes and attic penetrations.
Rigid foam board
Insulates attic hatches and basement rim joists.
Door sweep
Closes the gap between the bottom of an exterior door and the threshold.
Step-by-step sealing process
Work from the attic down to the basement: sealing attic bypasses first prevents conditioned air from being pulled upward through wall cavities before you address lower-level gaps.
Seal attic penetrations and the hatch
Use expanding spray foam or caulk to close gaps around wires, pipes, and ducts where they pass through the top plates of interior walls into the attic. Cut a piece of rigid foam board to fit the attic hatch opening, adhere weatherstripping to the perimeter of the hatch frame, and add batt insulation on top of the foam board cover.
Caulk window and door frames
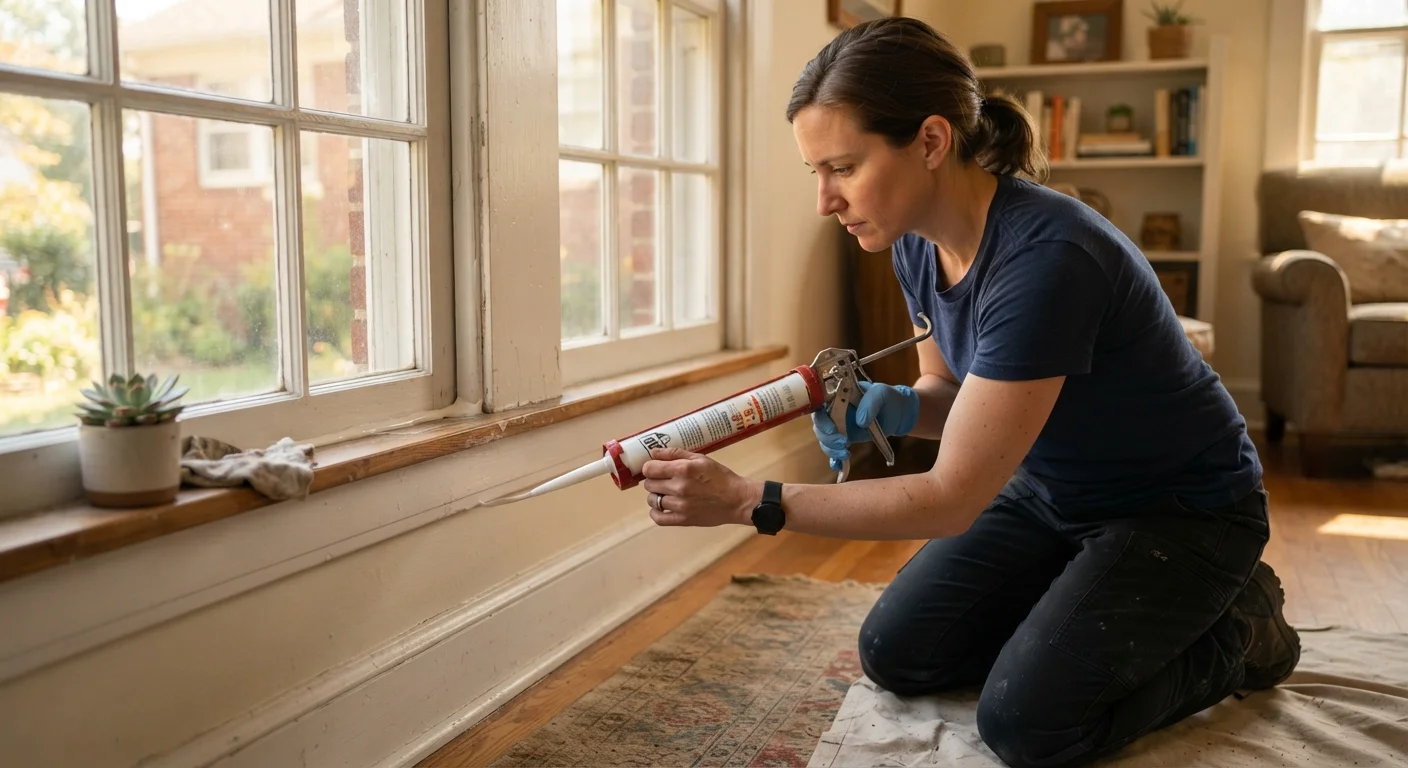
Remove any loose or crumbling old caulk with a utility knife or putty knife. Clean the surface with a dry cloth. Cut the caulk tube tip at a 45-degree angle to produce a bead slightly narrower than the gap. Apply steady, continuous pressure on the trigger while drawing the gun along the joint. Smooth the bead with a wet finger or plastic tool within a few minutes before a skin forms.
Install or replace weatherstripping on doors
Clean the door stop (the strip the door contacts when closed) thoroughly. Peel the backing from adhesive foam tape and press it firmly into place, or use a V-strip by cutting it to length with scissors and nailing or pressing it into the groove on the hinge side, latch side, and top of the door frame. Test the fit by closing the door: you should feel light resistance along the full perimeter.
Add or adjust door sweeps
Measure the door width. Cut the sweep to length with a hacksaw or tin snips if needed. Most sweeps screw into the interior face of the door near the bottom. Close the door before tightening the screws to set the correct height: the sweep should contact the threshold firmly without creating drag that makes the door hard to open.
Seal basement rim joists and pipe penetrations
The rim joist is the framing member that sits on top of the foundation wall around the perimeter of the floor above. Cut pieces of rigid foam board (2-inch thickness is typical) to fit between the floor joists and press them against the rim joist, then seal the perimeter of each piece with spray foam or caulk. Fill gaps around incoming pipes with backer rod (a flexible foam cord) first if the gap exceeds half an inch, then cover with caulk or foam.
Tracking results and seasonal upkeep
After sealing, walk through the same locations with an incense stick on the next cold day. If you notice reduced smoke movement at formerly drafty spots, the seal is working. Caulk can crack or pull away from surfaces after a few years, particularly around windows exposed to direct sun. Plan a brief annual inspection each fall as part of routine upkeep. The full-year maintenance budget guide explains how to schedule these checks without letting them slip.
Weatherstripping on high-traffic doors typically needs replacement every two to five years depending on material and use. Foam tape compresses permanently over time. V-strip (tension seal) weatherstripping made from metal or durable plastic tends to last longer and is worth the modest extra cost on doors used daily.
If drafts persist after thorough sealing, the next consideration is insulation levels in the attic and walls. That work often exceeds a quick weekend project but can be budgeted incrementally. For other DIY tasks that fit a similar skill level, the drywall patching guide covers a comparable set of tools and techniques.

Author
Home on a Budget Editorial Team
Home on a Budget Editorial Team is the collective byline for our editorial team and contributor network. Articles published under this byline or an editorial pen name are researched, written, and reviewed according to our editorial standards for clarity, consistency, and independence before publication.
View all articles