
Patching Drywall: What the Process Actually Involves
In this article
A clear, jargon-free breakdown of how drywall repair works, what tools you need, and when a small hole becomes a bigger job.
Key Takeaways
- Hole size determines the repair method: small holes need filler, larger holes need a backing structure.
- Joint compound must dry fully between coats, which adds at least a day to most repairs.
- Texture matching is often the hardest part of a drywall repair for DIYers.
- Holes larger than about six inches typically require new drywall and wood or metal backing.
- Permits are not usually required for cosmetic drywall repairs, but structural work may need inspection.
How hole size changes the repair approach
The diameter of the damage is the first thing to assess because it determines every tool and material decision that follows.
Nail holes and small dents (under half an inch): Lightweight spackle applied with a fingertip or a flexible putty knife is enough. Press the compound in, scrape it flush, let it dry, sand lightly, and paint. No mesh, no multiple coats.
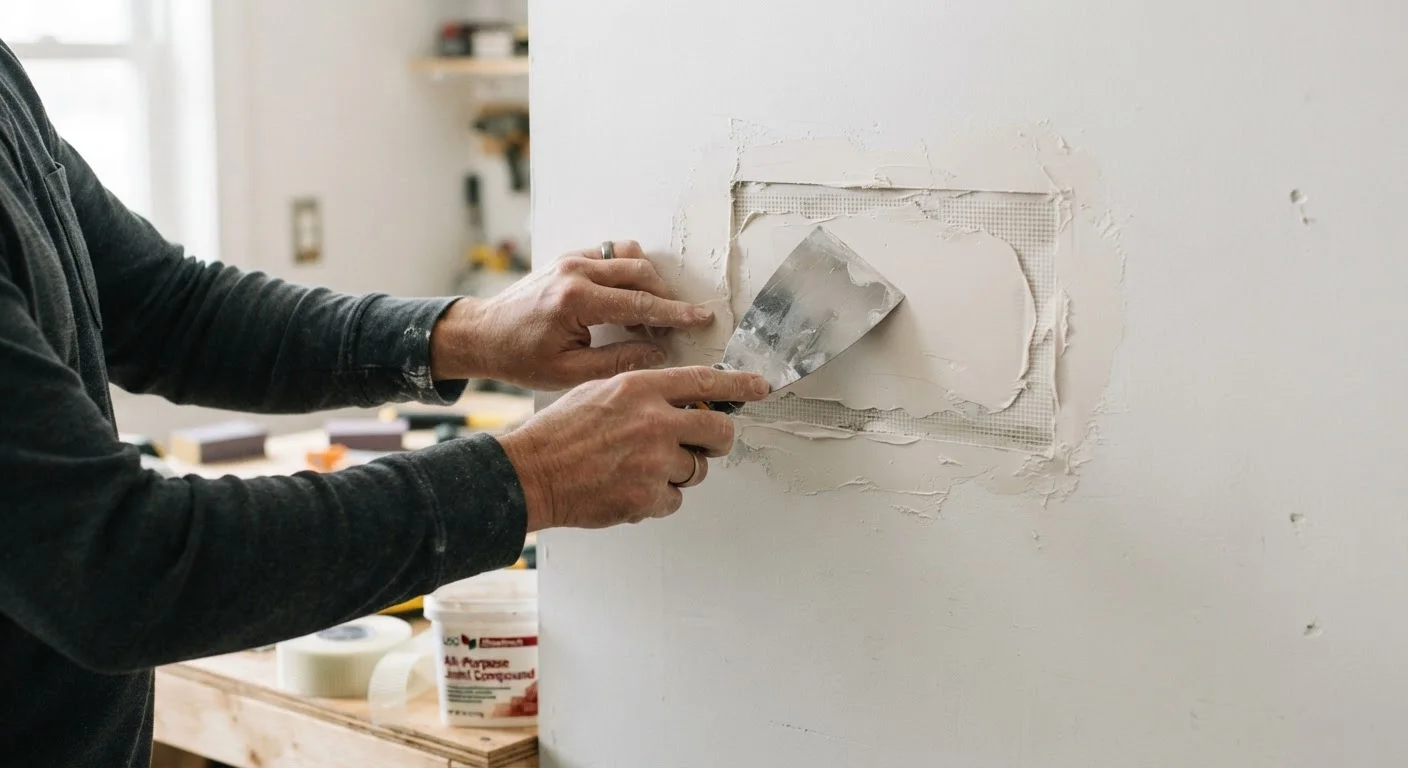
Medium holes (half an inch to about six inches): These need support behind the compound so it does not sag or crack as it dries. Common solutions include self-adhesive mesh patches, which bond to the wall face and give the compound something to grip, or a California patch, where you use the removed drywall piece itself with its paper facing as a built-in backer.
Large holes (over six inches): The repair requires a new piece of drywall cut to fit. You attach wood or metal backing inside the wall cavity, screw the new piece in, tape the seams, and finish with multiple coats of joint compound. This is a longer job, typically two to four days from start to final paint coat.
Test your paint match before patching
Take a chip of the existing wall paint to a hardware store for color matching before you start the repair. Paint matched after the patch is primed and sanded will look correct when dry. Trying to match color from memory or from an old paint can that has shifted in storage often results in a visible patch even after the texture is perfect.
The finishing process: where most DIY repairs go wrong
The physical repair of a hole is straightforward. The finishing is not. Joint compound shrinks as water evaporates from it, so a single thick coat will crack. Standard practice is three thin coats: a base coat to fill and embed tape, a second coat to build up and smooth, and a finish coat to feather the edges out wide enough that they disappear under paint.
Each coat needs to dry until it turns uniformly white, with no gray or translucent patches. In humid conditions this can take 24 hours per coat. A box fan directed at the wall speeds drying without forcing the compound to dry unevenly.
Sanding between coats with 120-grit paper, and finishing with 150-grit, removes ridges and tool marks. Dust from sanding is very fine and spreads through a house quickly, so seal off doorways with plastic sheeting before you start.
3 coats
Standard joint compound coats for a smooth finish
Professional drywall finishers typically apply three progressively wider coats of compound to achieve a level-5 finish ready for paint.
24 hrs
Minimum drying time per coat in normal conditions
Joint compound manufacturers generally recommend allowing each coat to dry completely before sanding or recoating, which takes roughly 24 hours at typical indoor humidity levels.
6 inches
Hole size threshold requiring new drywall
Holes larger than approximately six inches across generally require a cut-out section replaced with a new piece of gypsum board rather than a surface patch.
Texture matching: the step most guides underestimate
Once the compound is sanded smooth, the patched area is flat. If the rest of the wall has texture, a smooth patch is visible from across the room. Matching texture is often the most time-consuming part of the job.
Common wall textures include orange peel, knockdown, and skip trowel. Spray textures like orange peel can be applied with an aerosol can designed for that purpose, but getting the droplet size and density to match takes several test passes on cardboard before touching the wall. Knockdown and skip trowel textures are applied with a drywall knife and then flattened partially with a wide trowel before they fully set.
Ceilings with popcorn texture are harder still. Popcorn texture products are widely available, but old popcorn ceilings installed before 1978 may contain asbestos. Do not disturb or sand that material without professional testing first.
If texture matching feels beyond your skill level, a full-wall skim coat (applying a thin layer of compound across the entire wall surface) eliminates the matching problem entirely. It is more work, but the result is consistent.
Tools and materials a typical repair requires
Most drywall repairs do not need specialized equipment. The core items are a putty knife (4-inch and 6-inch), a wider drywall knife (10-inch or 12-inch for feathering), a mud pan to hold compound, joint compound, drywall tape (paper or fiberglass mesh), sandpaper, primer, and paint that matches the existing wall color.
For medium and large patches you also need a drywall saw or utility knife to cut the damaged section out cleanly, screws and a drill, and backing material such as 1x3 or 1x4 wood strips or a metal clip-style backer made for this purpose.
A good-quality wide knife makes a measurable difference in how smooth the finish coats go on. Cheap flexible knives flex inconsistently and leave ridges. Beyond that, technique matters more than tool cost.
For drafts coming through wall cavities near the damaged area, sealing those gaps before closing the patch saves you from reopening the wall later. Our guide to sealing air leaks covers which materials work in which situations.
A doorknob has punched a three-inch hole through a bedroom wall after the door stop failed.
Water dripped from an upstairs bathroom and left a soft, stained section of ceiling drywall below it.
A homeowner removes an old wall-mounted television bracket, leaving four large anchor holes and surface gouges.
When drywall damage signals a larger problem
Most damage is cosmetic: doorknob impacts, picture-hanging errors, furniture scuffs. Repair those with confidence. Some damage, however, is a symptom of something else.
Stains or soft spots around a patch site suggest water intrusion from a roof leak, plumbing leak, or condensation problem. Patching over damp drywall traps moisture and invites mold growth inside the wall. Fix the moisture source first, allow the area to dry completely, and check whether any affected panels need full replacement rather than surface repair.
Recurring cracks in the same location, especially near corners or above door frames, can indicate foundation settling. A single crack that repairs and stays repaired is normal. One that reopens season after season warrants a structural evaluation by a licensed contractor before further cosmetic work.
This article provides general home maintenance information only. For work involving structural elements, electrical components, or suspected hazardous materials such as asbestos or mold, consult a licensed professional and verify any local permit or inspection requirements with your municipality.
Frequently Asked Questions

Author
Home on a Budget Editorial Team
Home on a Budget Editorial Team is the collective byline for our editorial team and contributor network. Articles published under this byline or an editorial pen name are researched, written, and reviewed according to our editorial standards for clarity, consistency, and independence before publication.
View all articles