
Why DIY Paint Jobs Go Wrong Before the First Brush Stroke
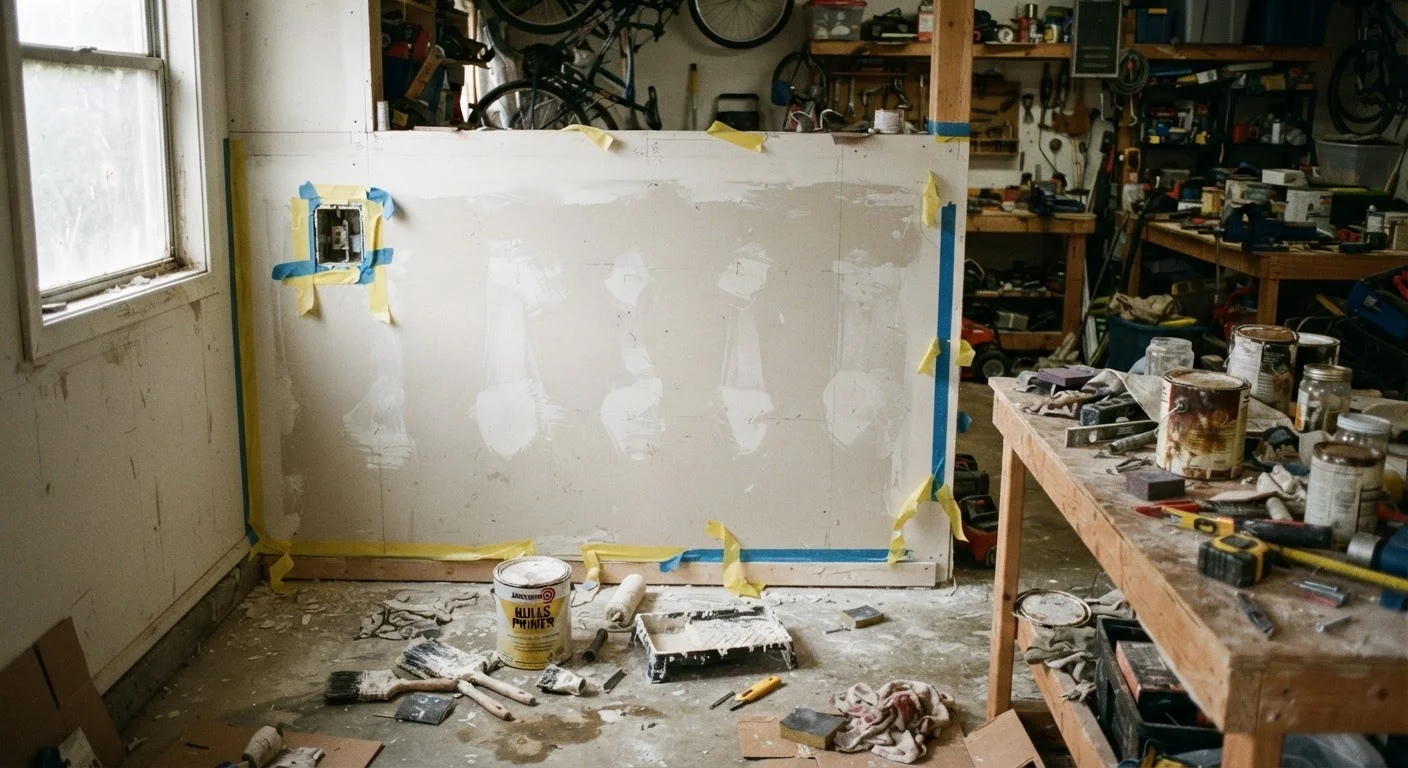
The most common prep mistakes that lead to peeling, uneven color, and wasted money on a home painting project.
Key Takeaways
- Surface cleaning and sanding matter more than paint quality for a lasting finish.
- Skipping primer on bare or patched surfaces causes uneven color and poor adhesion.
- Humidity and temperature during application directly affect how paint cures and bonds.
- Rushing between coats traps moisture and leads to peeling within months.
Why prep is where paint jobs actually fail
Most peeling, blotchy, or streaky paint results from decisions made before the can is even opened. Paint manufacturers design their products to bond to clean, stable, properly primed surfaces. When those conditions are not met, even an expensive product underperforms.
The frustrating part is that prep mistakes are invisible until weeks or months later, when the paint starts lifting at the edges or the color looks different in patches across the same wall. By then, the cost to fix the problem is often higher than the original project budget. Home repair myths that cost families money includes the widespread belief that good paint can compensate for bad prep, which it cannot.
The mistakes below are the most common prep errors, ordered roughly by how often they cause visible failure.
Painting over a dirty or greasy surface without washing it first.
Why it happens: The wall looks clean enough to the eye, so scrubbing seems like unnecessary work. Grease, dust, and skin oils are often invisible until paint fails to stick.
Skipping sanding between an old glossy finish and the new coat.
Why it happens: Sanding feels redundant when the existing paint is intact and smooth. Paint adhesion, however, depends on mechanical grip as much as chemical bonding, and a gloss surface offers very little of either.
Not priming bare wood, drywall patches, or repaired plaster before painting.
Why it happens: Primer looks like an extra expense and an extra drying step, so many DIYers skip it and go straight to color, especially when using paint-and-primer combination products.
Applying paint in temperatures or humidity levels outside the product's specification.
Why it happens: Painters often work when they have free time rather than when conditions are right. Cold temperatures slow curing; high humidity traps moisture under the film.
Applying a second coat before the first is fully dry.
Why it happens: The surface feels dry to the touch after an hour or two, which many people interpret as ready for recoating. Touch-dry and recoat-ready are different stages of cure.
Using worn or wrong-nap roller covers that leave texture problems.
Why it happens: Rollers look serviceable even when the nap is matted or the wrong thickness for the surface, and replacing them feels like an unnecessary cost.
What to do before you open the can
A structured pre-project check takes less than an hour and prevents most of the failures described above. Before buying supplies, walk the surface in good light and note every crack, stain, loose patch, or area of moisture damage. Address each one before purchasing paint. A pre-work checklist for any home improvement project covers this process in detail, including how to estimate materials accurately so you do not run short mid-wall.
Check the forecast if you are painting exterior surfaces. Aim for two to three days without rain, with temperatures between 50 and 85 degrees Fahrenheit, and humidity below 70 percent. Interior work benefits from the same humidity control: run a dehumidifier in damp basements or bathrooms before and during painting.
Moisture damage requires more than paint
If a surface shows active water stains, bubbling, or mold, paint will not fix the underlying problem. Covering moisture damage without addressing the source traps water behind the film and accelerates structural deterioration. Identify and correct the water source, allow the surface to dry fully, and treat any mold with an appropriate antimicrobial wash before priming. Some mold situations warrant professional assessment before any cosmetic work begins.
Budget-conscious painters sometimes skip primer to save money. Primer typically costs $20 to $40 per gallon, but a missed primer coat on a bare or patched surface usually means a third color coat to achieve even coverage, which costs more in paint and time than the primer would have. Stretching a home maintenance budget across the full year has practical advice on sequencing projects so prep costs do not catch you off guard.

Author
Home on a Budget Editorial Team
Home on a Budget Editorial Team is the collective byline for our editorial team and contributor network. Articles published under this byline or an editorial pen name are researched, written, and reviewed according to our editorial standards for clarity, consistency, and independence before publication.
View all articles